Who this plan suits.
Friends or family who enjoy making something casually. Match scissors, glue, and any paint to the ages and abilities of the people joining.
Before everyone arrives.
A day ahead, gather paper scraps, magazines you are ready to cut up, and supplies you already own. Pick one starting project rather than preparing several complicated examples. A folded card with a paper shape on the front is enough to explain the idea.
Fifteen minutes before arrival, protect the table, set out a few shared tools, and place scrap paper at each seat. Keep the food and drink area separate from paint water. Check product labels for suitable use and cleanup before the session begins.
Offer a starting point
Show guests how to fold a card, choose a shape, and glue it in place. Then invite them to change the idea. A sample is a way past the blank page, so there is no need for everyone to copy your colors or finish the same object.
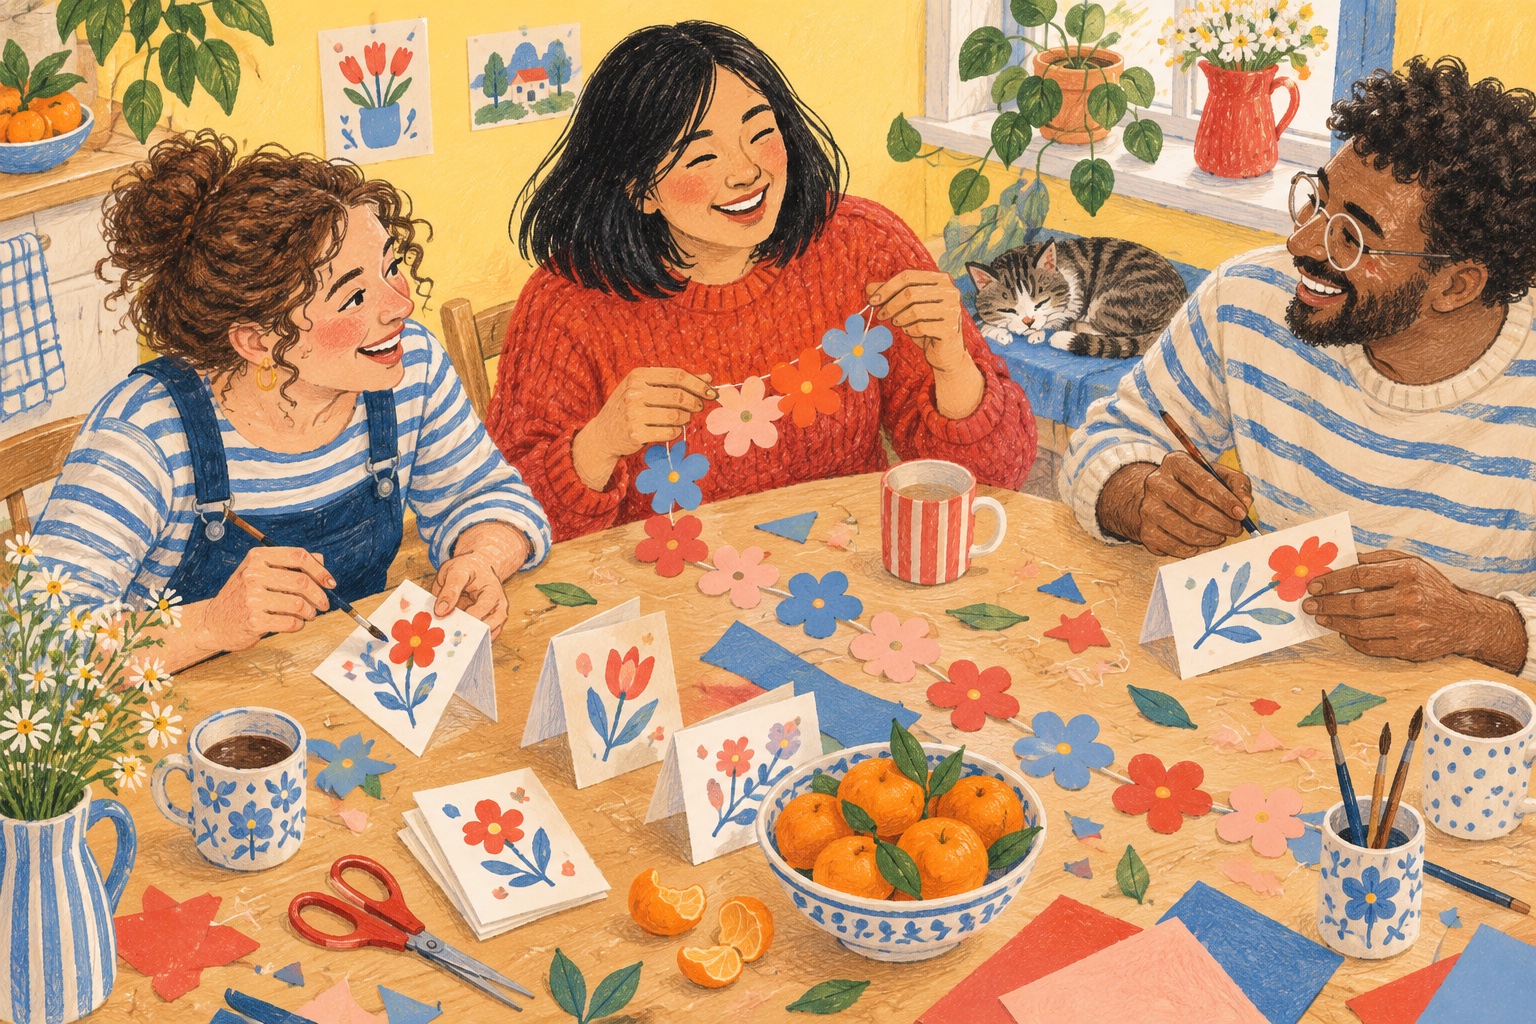
For paper flowers, let people sketch and cut their own broad petal shapes rather than tracing a detailed template. Flat flowers glued onto a card need fewer materials and less drying space than a three-dimensional arrangement.
Give the materials room
Arrange the table in small clusters: cutting supplies, paper, and drawing or painting supplies. Put tools back in a shared spot after each use. A small scrap bowl at both ends of the table prevents a growing layer of offcuts from covering the projects.
After about forty-five minutes, pause for a drink and let people see what others are making. Offer another sheet of paper rather than urging anyone to finish. Some guests will make several quick cards; others may spend the whole afternoon on one.
Plan the last fifteen minutes
Set aside a dry surface for finished work before guests need it. Ask people to add their names on the reverse, then give wet paint or glue the time specified by the product. An ordinary tray makes carrying several pieces easier.
Invite guests to photograph their work before packing it, if they would like a record. Leave space for a message inside each card. That final small step can turn an afternoon experiment into something a guest actually wants to send.
Your starting list for six.
Check the cupboard first, then borrow or buy what is missing. Quantities are planning estimates; adjust them for your group, the product packaging, and the time you have.
| Supply | For six people |
|---|---|
| Blank cards & envelopes | 18 sets |
| Colored craft paper | 30 sheets |
| Washable paint set | 1 set |
| Paintbrushes | 6 brushes |
| Glue sticks | 2 sticks |
| Clementines for the table | 12 clementines |
| Supply | For six people |
|---|---|
| Scissors to share | 3 pairs |
| Newspaper or a table cover | 1 cover |
Raid the recycling for magazines and colorful packaging. The best supplies might already be at home.
Make it work for your group.
In a small space, use only pencils, paper, and glue sticks; skip the paint station entirely.
For a low-shopping version, cut shapes from clean packaging and use the plain reverse of scrap paper.
When you are done.
Separate reusable paper from small scraps, close glue and paint containers, and clean tools according to their labels. Check that finished projects have gone home before clearing the drying area.
Make the checklist yours.
Change the guest count, mark what you already have, and keep a list of what is left.
Open the craft & catch-up planner →